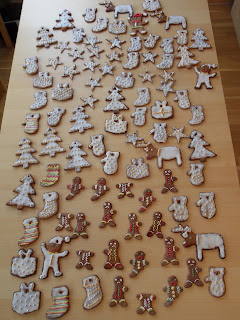
The first batch of edible season decorations is ready, and I must admit that the temptation to eat them rather than put up, is really strong! After long hours of kneading, cooling, and rolling the brittle gingerbread dough, which was incredibly adamant in falling apart, there was a fair bit of icing and decorating, but it was worth it. So far, the flat is filled with Christmas smell, and I can't wait to put the cakes up!
To make gingerbread cakes you need:
2 and 1/4 cup flour
1/4 cup honey
1/2 cup icing sugar
1 egg
5 tbsp soft butter
1 tsp baking soda
1 tbsp cinnamon
1 tbsp ground ginger
1 tsp ground nutmeg
1/2 tsp ground cardamon
3 ground cloves
1 tbsp cocoa powder (if you wish for a darker shade)
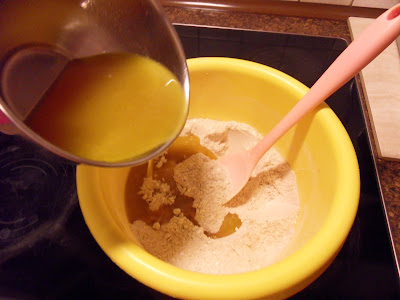
In a large bowl mix flour, sugar, soda, and spices. Melt butter on a hob and add honey and stir until they blend, then pour into the bowl with other ingredients and crack in the egg. Knead until the dough is smooth. Cover the bowl with cling film and put it in the fridge for 30 minutes.
On a floured surface flatten the dough with a flour-dusted rolling pin. Cut out shapes and place on a baking tray covered with baking paper. Leave spaces between your cakes, as they will grow during baking. If you want to hang them on the Christmas tree, make a hole on top of each cake - plastic straws are best for that, but a toothpick can do the job too. Bake the cakes in 180C from 7 to 13 minutes (depending how thick they are). When they're ready place them on a rack to cool.
For the icing you need:
1 egg white
about 1 cup icing sugar
cake sprinkles or other decorations
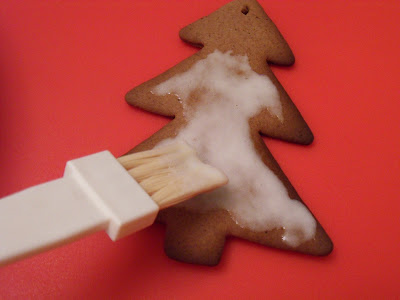
Separate an egg white into a bowl, add icing sugar and stir vigorously until they combine into a thick, smooth liquid. I find whisking most effective at this stage. It usually is quite runny, so you shouldn't cover the entire cake, but leave the edges free, otherwise the icing will leak off them. If your icing is too runny stir in more icing sugar. Distribute your icing on the cakes with a brush, sprinkle the decorations and leave to dry. Then the big question comes - to have the cake or eat it? ;-) As you can see in the last photo, at least some of my cakes made their way onto the tree.
The good thing about gingerbread is that it keeps so well, and apparently, it becomes better, the older it gets, so the cakes will be even better when you take them down, after Christmas!


Comments
Post a Comment